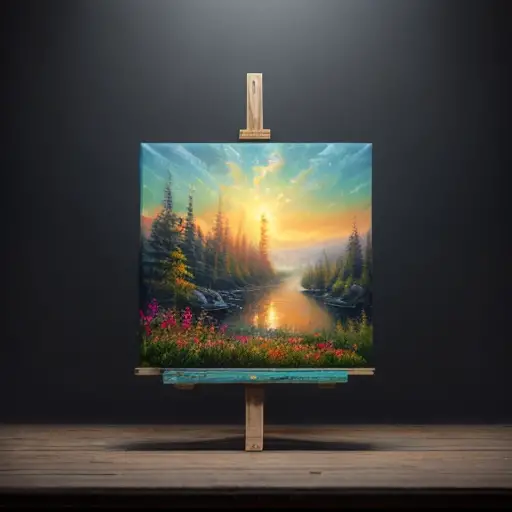
Alright, fellow art enthusiasts, let's dive into the wonderful world of canvas stretching! Picture this: you've just finished your masterpiece, and now it's time to give it the perfect home on a canvas. First things first, grab yourself a sturdy wooden frame that will act as the backbone of your artwork. Now, here comes the fun part – stretching that canvas like a pro! Lay it flat on a clean surface and start pulling it taut, making sure to secure it tightly to the frame. Think of it as giving your painting a cozy hug, but not too tight, we don't want to suffocate the poor thing! Remember, practice makes perfect, so keep honing your canvas stretching skills and soon you'll be a master of this art form. Happy stretching, my creative comrades!
An interesting fact about stretching canvas painting is that the process of stretching canvas has remained virtually unchanged for centuries. Artists have been stretching canvas on wooden frames since the 14th century, using similar techniques and tools that are still employed today. This traditional method of stretching canvas allows for a taut and stable surface, ensuring the longevity and preservation of the artwork. Despite advancements in technology, the simplicity and effectiveness of stretching canvas have stood the test of time, making it a timeless and essential practice in the world of painting.
Alright, my fellow artists, let's talk about the essential materials and tools you'll need to prepare your canvas for stretching. First off, you'll need a high-quality canvas fabric that suits your artistic vision. Don't skimp on this, folks – a good canvas is the foundation of a great painting! Next, gather your trusty tools: a staple gun, canvas pliers, and a hammer. These will be your weapons of choice as you embark on your canvas stretching adventure. Lay your canvas flat on a clean surface and start by folding over the edges, creating a neat border. Now, it's time to unleash the staple gun! Secure the canvas to the wooden frame, starting from the center and working your way outwards. Use those canvas pliers to ensure a tight and even stretch, and give those staples a gentle tap with the hammer to make sure they're secure. Voila! Your canvas is now ready to be transformed into a masterpiece. Get ready to unleash your creativity, my friends!
Alright, my fellow artists, get ready for a step-by-step guide to stretching a canvas like a pro! First things first, gather your materials: a wooden frame, canvas fabric, staple gun, canvas pliers, and a hammer. Now, lay your canvas flat on a clean surface and position your wooden frame on top. Make sure the frame is slightly larger than your canvas to allow for stretching.
Next, fold over the edges of your canvas, creating a neat border. This will give your artwork a clean and professional look. Now, it's time to secure the canvas to the frame. Starting from the center, use your staple gun to attach the canvas to the frame. Work your way outwards, pulling the canvas taut as you go. Be sure to use those trusty canvas pliers to maintain an even stretch and prevent any wrinkles or sagging.
As you staple, remember to alternate sides to keep the tension balanced. Don't be afraid to give those staples a gentle tap with a hammer to ensure they're securely in place. Keep going until you've stapled all four sides, making sure the canvas remains tight and smooth.
Once you've finished stapling, take a step back and admire your handiwork. Give the canvas a gentle tug to check for any loose spots or areas that need a bit more tension. If necessary, add a few extra staples to ensure a perfect stretch.
Congratulations, my artistic comrades! You've successfully stretched a canvas and now have the perfect foundation for your masterpiece. Now, go forth and let your creativity flow onto this beautifully stretched canvas. Happy painting!
Did you know that stretching a canvas painting involves a technique called 'gallery wrap'? This means that the canvas is stretched tightly around the wooden frame, with the edges of the artwork continuing onto the sides of the frame. So, not only does this give the painting a modern and sleek look, but it also allows you to enjoy the artwork from any angle, even if it's not hanging on a wall!
Now that you've stretched your canvas with precision and skill, it's time for the finishing touches – mounting and displaying your masterpiece. First, assess the size and weight of your artwork to determine the best method of mounting. For smaller pieces, a simple sawtooth hanger or D-rings attached to the back of the frame will do the trick. However, for larger and heavier canvases, consider using sturdy picture wire securely fastened to the frame. Once your mounting method is in place, it's time to decide where to showcase your artwork. Whether it's a gallery wall, a prominent spot above the fireplace, or a cozy nook in your home, make sure to choose a location that does justice to your hard work. Remember, your stretched canvas is a reflection of your creativity, so display it proudly and let it captivate all who lay eyes upon it.